Webcam Lighting Tips for Private Cam Room Hosts
Webcam Lighting Tips for Private Cam Room Hosts
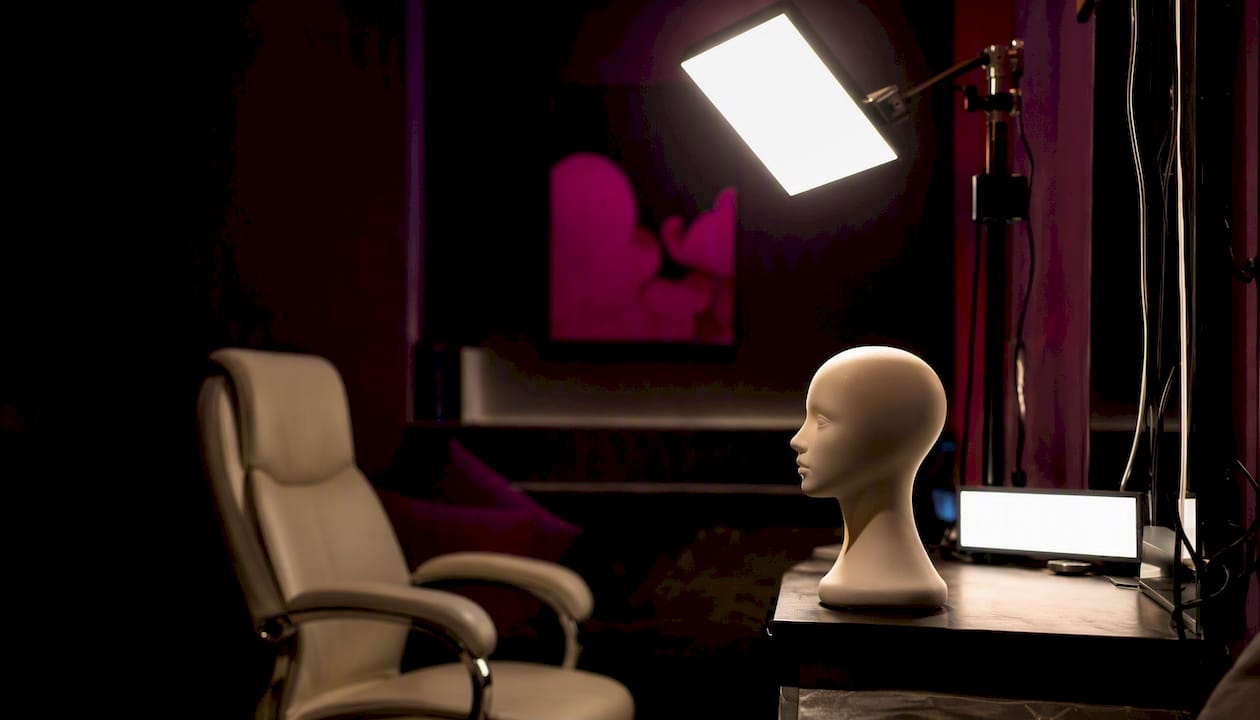
Use a controlled three-point lighting setup: one soft key light, one weaker fill, and a small hair or background accent, with your curtains closed before you ever hit “go live.” That single combination does more for your image quality than any camera upgrade, and it solves privacy and mood at the same time.
Here’s the fast version, before we get into the details:
- Placement: Key light at a 20–45° angle to your face, positioned slightly above eye level.
- Brightness ratio: Fill light at roughly half the key’s intensity, a 2:1 ratio that keeps shadows soft without going flat.
- Privacy first: Close curtains or blinds and rely on artificial light instead of windows, so nothing in the frame hints at your location or the time of day.
Get those three things right and you’ll look more flattering on camera, set whatever mood you’re going for, and keep your private life exactly that.
Key Takeaways
Flattering, privacy-safe webcam lighting comes down to three-point placement, one consistent color temperature, and a background cleared of anything identifying.
| Point | Details |
|---|---|
| Use three-point placement | Key at 20–45°, fill at half the intensity, hair or background light for separation. |
| Skip the overhead light | It casts harsh downward shadows; a soft front key light replaces it entirely. |
| Pick one color temperature | Stick to 4000–4500K for all white lights to avoid a visible color cast. |
| Lock down privacy basics | Close curtains, clear identifying items, and angle mirrors away from frame. |
| Host in a verified room | Swingersuk’s private cam rooms pair your lighting setup with identity verification and incognito controls for a trusted session. |
Table of Contents
- Essential Webcam Lighting Kit for a Cam Room
- How Do You Set Up Three-Point Lighting for a Webcam?
- What Color Temperature and RGB Setup Creates the Right Mood?
- Which Camera and Software Settings Pair With Good Lighting?
- Privacy Checklist Before You Go Live
- Three Ready-to-Use Lighting Presets for Cam Sessions
- Keeping Your Lighting Setup Safe Over Time
- Why Consistency Beats Constantly Chasing New Gear
- A Platform Built Around the Privacy This Guide Recommends
- Sources
Essential Webcam Lighting Kit for a Cam Room
You don’t need a studio budget to get a professional look. A basic starter setup runs about $150 to $250 if you prioritize one strong front light over a fancier camera, and you can have it assembled in under an hour.
The core categories you actually need:
- Key light: a soft LED panel or small softbox, this is your main investment.
- Fill light: a smaller LED panel, or even a white foam board to bounce your key light back into the shadows.
- Background or hair light: a compact RGB strip or puck light to separate you from the wall behind you.
- Stands or a tripod: something adjustable, since you’ll be tweaking height often.
- Diffusion: a softbox attachment or diffusion panel to knock down harsh LED glare.
- Basic cables and adapters: enough to route power without stretching cords across walkways.
A ring light works fine when you’re tight on space or need something portable, but a softbox is the better long-term investment since it gives you more even coverage and a more natural catchlight in your eyes. If you’re only buying one thing this month, buy the key light. It matters more than the webcam itself.
How Do You Set Up Three-Point Lighting for a Webcam?
Three-point lighting isn’t complicated once you see it laid out, and it’s the single technique that separates a flat, washed-out feed from one that actually looks dimensional on camera.
- Position the key light at a 20 to 45 degree angle off to one side of your webcam, raised slightly above your eye level so it casts a gentle downward shadow rather than lighting you flat-on.
- Add the fill light on the opposite side, roughly half the brightness of your key. This 2:1 ratio is a portrait standard that softens shadows without erasing them entirely.
- Measure relative brightness either with your light’s percent dimmer setting or by moving the fill light farther back until it visibly reads dimmer on your preview.
- Place the background or hair light behind or above you, angled so it grazes your shoulders and hair without spilling forward onto your face.
- Check separation. You want a faint rim of light distinguishing you from the backdrop, not a bright halo that competes with your key.
- Test everything from your actual stream preview, not just your webcam’s raw feed. Software color correction and compression can shift how lighting reads once it’s live.
Pro Tip: Never rely on the overhead light in your room as your main source. Overhead fixtures cast shadows straight down under your eyes and nose, which is the least flattering angle possible on a webcam. Turn it off entirely and let your key light do the work.
Getting this right is the difference between a face that reads as a flat gray blob and one with actual contour. A classic three-point setup built around these angles produces results consistent enough that you can replicate them session after session.
What Color Temperature and RGB Setup Creates the Right Mood?
Pick one color temperature for every white light in the room and stick with it. A warm-neutral range around 4000K to 4500K flatters most skin tones without tipping into the orange cast of old incandescent bulbs or the clinical blue of cheap daylight LEDs.
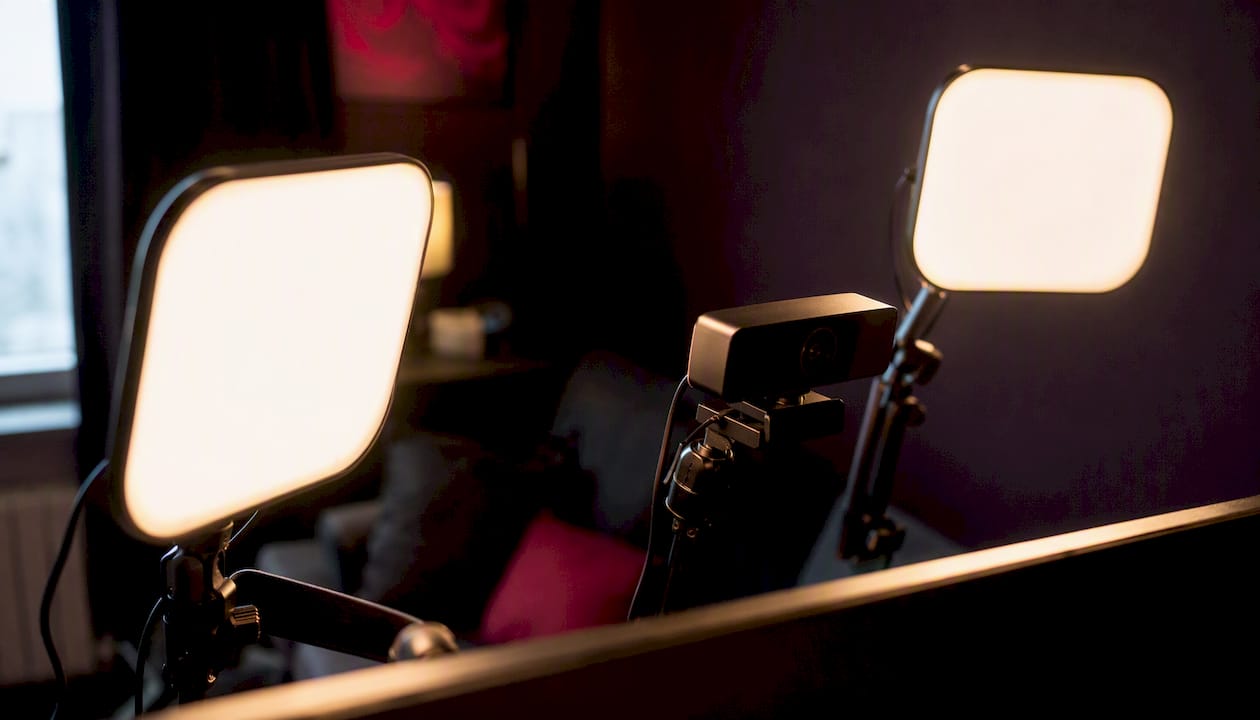
Mixing temperatures is the fastest way to wreck an otherwise good setup. A 4500K key paired with a 3000K lamp in the background creates a visible color cast your camera’s white balance can’t fully correct, and it reads as unprofessional even to viewers who couldn’t explain why.
RGB lighting has its place, but that place is not your face. Colored LEDs work best as background or accent lighting, setting mood behind you while your key light stays neutral and flattering on your skin.
| Preset Element | Warm Intimate | Polished Neutral | Moody Silhouette |
|---|---|---|---|
| Key temperature | 3200–3500K | 4000–4500K | 3500K, dimmed low |
| Accent color | Deep red or amber | None or soft white | Purple or blue |
| Diffusion | Heavy | Moderate | Light |
Quick dos and don’ts:
- Do keep all white lights within a few hundred Kelvin of each other.
- Do use diffusion (a softbox panel, or even a sheet of parchment paper over a hard LED) to soften harsh direct light.
- Don’t point a red or purple RGB light directly at your face as a key source.
- Don’t switch color temperatures mid-session without adjusting your camera’s white balance to match.
Which Camera and Software Settings Pair With Good Lighting?
Good lighting only works if your camera isn’t fighting it with automatic corrections. Lock your white balance manually to match whatever Kelvin temperature you settled on, rather than letting auto white balance guess and shift throughout the session.
Run through this before you go live:
- Set white balance manually to your key light’s Kelvin value instead of leaving it on auto.
- Keep gain low. Cranking gain to compensate for a dim room introduces visible noise. Fix the actual light level instead of amplifying it digitally.
- Disable auto HDR, which can flatten contrast and wash out the dimensional look your three-point setup just built.
- Lock autofocus once you’re framed, so the camera doesn’t hunt and blur during movement.
- Use face smoothing sparingly, if at all. Heavy smoothing paired with strong key lighting can look artificial fast.
- Match your frame rate to your lights. Cheap LEDs using pulse-width modulation can flicker on camera, so test a higher frame rate or switch to flicker-free bulbs if you see banding.
Privacy Checklist Before You Go Live
Lighting choices and privacy choices overlap more than most hosts realize. Closing curtains and clearing your background isn’t just about tidiness. It’s the first line of defense against accidentally revealing where you live.
Run this checklist every session:
- Close curtains and blinds completely, and confirm no gap reveals a view outside.
- Remove mail, prescription bottles, or anything with your name or address visible in frame.
- Take down or angle away mirrors, since they can reflect the room or you in ways you didn’t intend.
- Use consistent artificial lighting rather than daylight, which shifts throughout the day and can hint at your time zone or the actual time of day you’re streaming.
- Double check your camera’s actual framing, not just what you assume is in shot, since wide-angle webcams often capture more than expected.
Daylight is unpredictable by nature. A window that looks fine at noon can throw a completely different shadow and color temperature by evening, and that inconsistency itself can be a clue about your location and schedule. Sticking to artificial, app-controlled lighting keeps your feed visually consistent and gives away nothing about when or where you’re broadcasting from.
If you’re hosting on Swingersuk’s private cam rooms, the platform’s identity verification and incognito controls add another layer of protection on top of your physical setup, so your lighting discipline and the platform’s privacy tools work together rather than one compensating for the other.
Three Ready-to-Use Lighting Presets for Cam Sessions
Each of these presets is fully built out. Pick the one that matches your session’s mood and you can be lit and ready inside half an hour.
- Intimate warm. Key light at 3200–3500K, fill at half intensity, deep red or amber accent light glowing softly behind you. Setup time: 10–20 minutes. If skin starts looking shiny under this warmer light, add a layer of diffusion or drop the key’s intensity slightly.
- Polished professional. Key light at 4000–4500K, stronger than your intimate setup, soft fill to keep shadows gentle, tidy neutral-white background light with no colored accents. Setup time: 15–30 minutes. If the image looks flat, increase the gap between key and fill intensity slightly to restore contour.
- Moody silhouette. Key light dimmed or moved to a stronger side angle, background or hair light boosted to create a rim-light effect, blackout material behind you, optional deep blue or purple accent. Setup time: 10–20 minutes. If your face disappears entirely into shadow, raise the key just slightly. You want mystery, not invisibility.
- Test each preset from your actual stream preview before committing, since compression can shift how contrast and color read once live.
- Save your dimmer or app settings for each preset so you’re not rebuilding from scratch every session.
Keeping Your Lighting Setup Safe Over Time
A cam room is usually a small space, which means heat, cables, and gear all compete for the same limited square footage. Treat the basics seriously.
- Avoid overloading a single power strip with multiple high-wattage LED panels plus your computer and camera gear.
- Route cables along walls or under furniture rather than across the floor where you or a partner could trip.
- Use proper stands, and weight them with sandbags if you’re in a room with any foot traffic or pets.
- Keep diffusion fabric or paper a safe distance from any light that runs genuinely hot, not just LEDs that stay cool to the touch.
For maintenance, wipe down diffusers every few weeks since dust dulls light output more than people expect. If you notice flicker that wasn’t there before, it’s usually a failing driver inside a cheap LED, and replacement is cheaper than troubleshooting. Tighten stand mounts periodically, since vibration from movement during sessions loosens them over time. And if your lights are app-controlled, check for firmware updates now and then. A dropped connection mid-session is its own kind of safety issue.
On the ergonomics side, keep a comfortable chair in frame range, stay hydrated, and avoid sitting directly under a bright key light for hours at a stretch. Your eyes will thank you.
Why Consistency Beats Constantly Chasing New Gear
The instinct for a lot of hosts is to treat lighting like a gear race, always eyeing the next panel or the next RGB strip. That instinct is mostly wrong. Regular viewers respond to a familiar aesthetic. They come back because your room looks like your room, not because you switched to a new light last Tuesday.
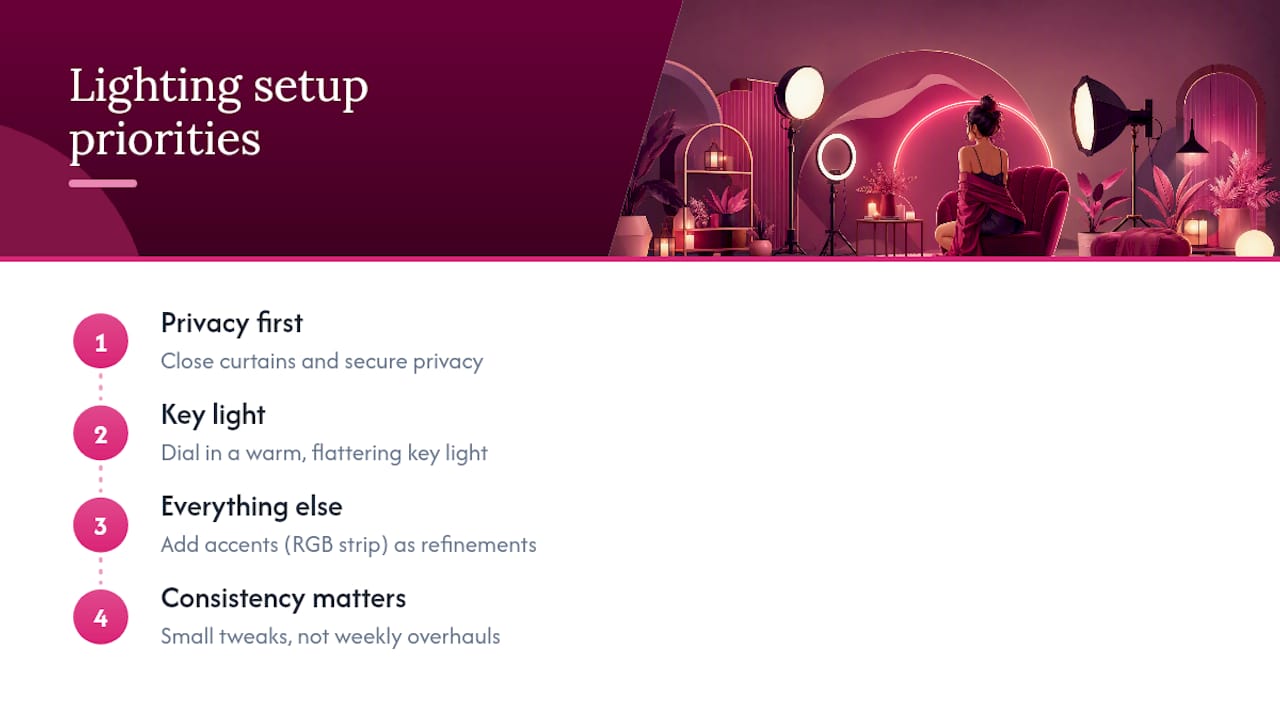
The smarter order of operations is privacy first, then key light, then everything else. Get your curtains closed and your key light dialed in before you spend another dollar on background accents or a second RGB strip. Those additions matter, but they’re refinements on a foundation, not substitutes for one.
Small, consistent tweaks tend to outperform dramatic overhauls. A host who nails one warm, flattering setup and repeats it session after session usually builds a steadier following than one who reinvents their look every week. Familiarity reads as reliability, and reliability is what keeps people coming back to a private room instead of scrolling past it.
A Platform Built Around the Privacy This Guide Recommends
Everything in this guide points toward the same conclusion: control your light, control your background, and control who sees what. Swingersuk’s private cam rooms are built around that same principle, with identity verification and incognito controls that give hosts a trusted, spam-free environment before a single light even gets turned on.
The platform’s ID verification process screens out fake profiles and bots, so the audience watching your carefully lit, privacy-protected session is made up of verified members rather than anonymous accounts with nothing to lose. That matters as much as your key light placement. A flattering setup means little if the room itself isn’t trustworthy.
If you’re ready to put these lighting and privacy practices into a room built to support them, check out Swingersuk’s private cam rooms and set up your first verified session today.
Sources
These sources go deeper into specific pieces of the setup covered here.
- Guide to Cam Room Setup for Professional Shows - Strictly Models
- Create Sexy Ambiance with Lighting - CamModelMentor
- Best Lighting for Cam Modeling 2026: Look Great on Cam - CamStar
- How to Set Up a Cam Room for Beginners: Complete Starter Guide (2026) - CamHustle