How to Blur Faces in Photos: Best Tools for Privacy
How to Blur Faces in Photos: Best Tools for Privacy
The fastest way to anonymize faces in photos is to use a browser or mobile tool that runs face detection locally, so your images never leave your device. For most people, three tools cover every common need:
- Fast browser-only (on-device): PixConvert runs Google’s MediaPipe/BlazeFace model entirely in-browser, detects multiple faces in one pass, and lets you choose blur, pixelate, or black-bar styles with no upload required.
- One-tap mobile (iOS): FaceBlur on the App Store delivers single-tap face blurring directly from your camera roll, with no account needed.
- Desktop/advanced: GIMP or Adobe Express handle large files, layered edits, and batch workflows when you need more control.
Which blur type should you pick? Gaussian blur softens a face naturally and works well for casual sharing. Pixelation (mosaic) is stronger and harder to reverse, making it the better choice for journalism or legal contexts. A solid black bar is maximum redaction when you need zero ambiguity.
Key Takeaways
On-device and in-browser face-blur tools like PixConvert and BlurFaces are the fastest, most privacy-respecting way to anonymize faces in photos, handling most everyday needs in under 90 seconds with no account or upload required.
| Point | Details |
|---|---|
| Best for fast web edits | PixConvert and BlurFaces run on-device, require no sign-up, and finish in under 90 seconds. |
| Pixelate beats Gaussian for sensitive cases | Large pixel blocks are harder to reverse than soft blur on high-resolution images. |
| Auto-detection has real limits | Profile views, small faces, and occlusion require manual masks to catch reliably. |
| Strip metadata before sharing | EXIF and GPS data can expose location even after faces are fully blurred. |
| Swingersuk as an alternative | Verified private sharing on Swingersuk removes the need to anonymize photos for public posting. |
Table of Contents
- How to blur a face in photos right now
- The best tools and apps for face blurring in photos
- How automatic face detection differs from manual masking
- Step-by-step instructions for every platform
- Privacy checklist and the real limits of face blurring
- Which tool fits your need right now?
- A practical note on face blurring and privacy
- Private photo sharing with verified members
- Useful tool pages and tutorials to open now
- Sources
How to blur a face in photos right now
You can finish this in under 90 seconds. Here is the exact workflow:
- Open your tool (30 seconds): Go to PixConvert’s face blur page or BlurFaces in any browser. No sign-up, no download.
- Upload or drag in your photo (5–10 seconds): Drop a JPG, PNG, or WebP file onto the canvas. Both tools support large pixel sizes.
- Let auto-detection run (5–15 seconds): The on-device AI scans for faces and places blur masks automatically. For group shots, check that every face is covered.
- Adjust intensity (10 seconds): Slide the blur or pixel-block size up. For sensitive images, go heavy — a light blur on a high-resolution photo can still leak recognizable detail.
- Add manual masks if needed (optional, 15–30 seconds): Draw a box over any missed face, a name badge, or a tattoo. BlurFaces supports manual masks alongside auto-detection.
- Export and verify (10 seconds): Download the flattened file. Zoom out to thumbnail size and confirm every face is unreadable at that scale.
Pro Tip: Set your preferred blur intensity once, then save it as a preset if the tool allows. On repeat sessions, the model may already be cached in your browser, cutting detection time to under five seconds.
The best tools and apps for face blurring in photos
Different workflows call for different tools. Here is how the main options break down by category.
Browser tools (on-device, no upload)
PixConvert runs MediaPipe/BlazeFace locally, supports blur, pixelate, and black-bar styles, and processes JPG/PNG/WebP without sending your file to a server. Free, no account.
BlurFaces detects faces in both photos and video clips, keeps originals on your device, and supports manual masks for anything the auto-detector misses. Privacy-by-design, no account required.
Convertful also runs MediaPipe in-browser, detects multiple faces in a single pass, and recommends stronger blur or larger pixel blocks for sensitive cases.
Browser tools (server-side upload)
iLoveIMG Blur Face offers automatic multi-face detection and a clean UI for quick anonymization. Simple and fast, though your file does travel to their servers. Good for non-sensitive, one-off edits.
TechSmith’s online blur tool lets you click or drag to blur specific areas, includes an Auto Redact option for text-heavy screenshots, and exports directly from the browser. The free tier covers most casual needs; a paid Snagit license adds audited redaction.
Adobe Express applies blur across an entire image with an adjustable sliding scale. Background-only blur is possible through layering. A free mobile app handles on-the-go edits.
iOS apps
FaceBlur (App Store) delivers single-tap blurring from your camera roll. Rated and reviewed by real users, it represents the fastest mobile workflow for iPhone.
Snapseed (Google, free) gives you a selective blur brush and precise control over blur radius, useful when you want to protect one face in a complex scene without touching the rest.
Photoshop Express (Adobe, free tier) includes a blur tool and basic masking, suitable when you already use Adobe’s ecosystem.
Android apps
Snapseed and Photoshop Express are both available on Android with the same feature sets as iOS. Note that some browser-based tools also work well in Chrome for Android, with the MediaPipe model downloading and caching on first use.
Desktop editors
GIMP is free, open-source, and handles batch processing through Script-Fu. Use it when you have dozens of images to process or need pixel-level control. The pixelate filter and Gaussian blur are both built in.
Photo Face Blur is available as a Windows app in the Microsoft Store, targeting users who prefer a fully offline desktop workflow for anonymization without any browser dependency.
Tool comparison at a glance:
How automatic face detection differs from manual masking
Auto-detection is fast and accurate on clear, frontal faces — but it has real limits you should know before trusting it for sensitive content.
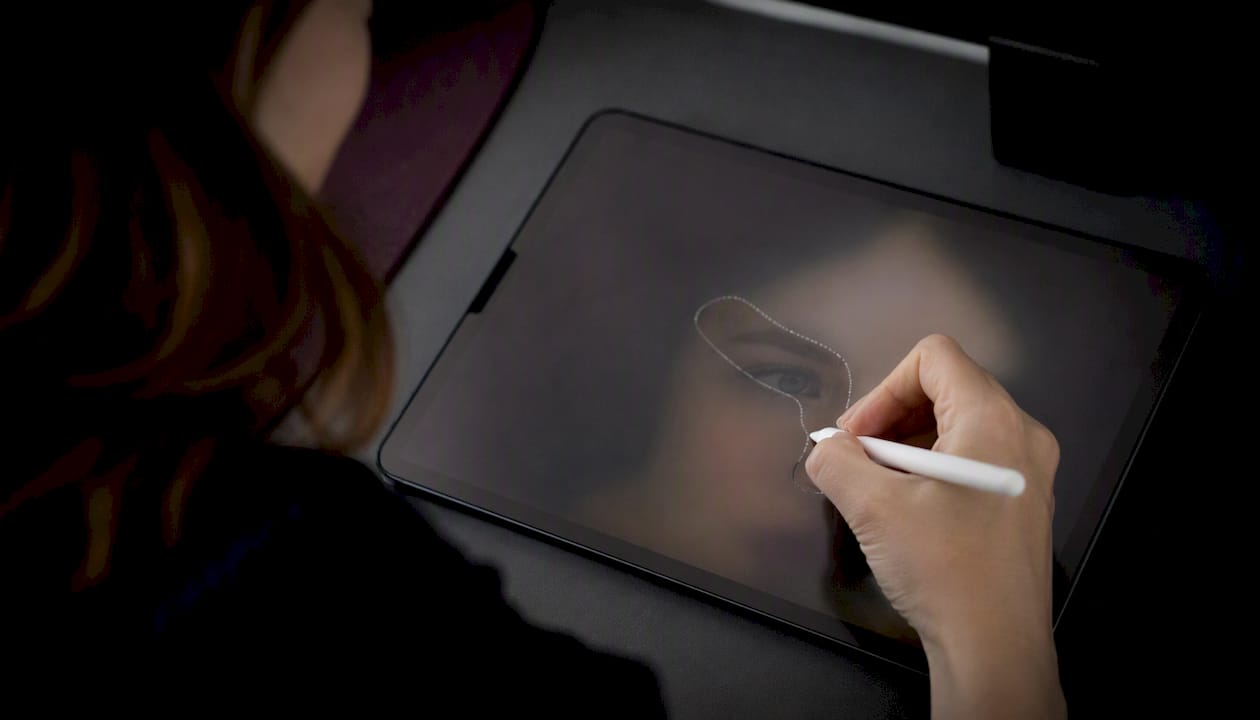
Modern tools running MediaPipe or BlazeFace perform well on faces that are forward-facing, well-lit, and at least 80–100 pixels wide in the image. Accuracy drops on profile views, partially obscured faces, faces in motion blur, and very small faces in wide crowd shots. A tool may also miss faces wearing heavy makeup, masks, or unusual headwear.
Manual masking fills the gap. Draw a box over anything the auto-detector skips: a face in the background, a name badge, a visible tattoo, or a distinctive piece of clothing that could identify someone even without a visible face.
Pro Tip: Most tools let you lower the confidence threshold to catch more faces at the cost of more false positives. For crowded group photos, lower it and then delete any false-positive masks manually. For a single portrait, keep the default threshold and verify once.
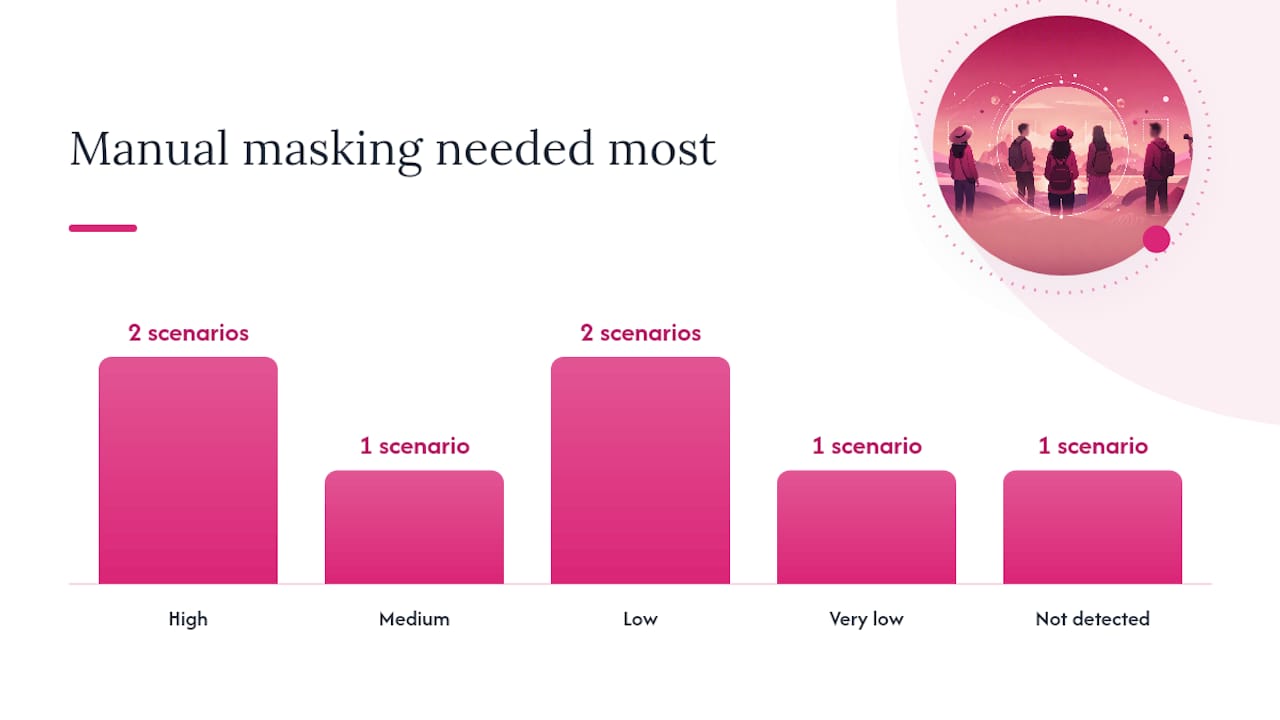
| Scenario | Auto-detection reliability | Recommended approach |
|---|---|---|
| Single frontal portrait | High | Auto only |
| Group photo, all faces forward | High | Auto, then verify |
| Profile or three-quarter view | Medium | Auto plus manual check |
| Small faces in crowd shot | Low | Manual masking |
| Face partially covered (hat, hand) | Low | Manual masking |
| Motion-blurred or low-res face | Very low | Manual masking |
| Name badge or tattoo | Not detected | Manual masking only |
WuTools notes that confidence thresholds and padding settings let you tune recall vs. precision, and that some tools generate a downloadable redaction report — useful for journalism or legal audit trails.
Step-by-step instructions for every platform
iPhone
- Download FaceBlur from the App Store or open Snapseed.
- Tap the photo you want to edit from your camera roll.
- For FaceBlur: tap the auto-detect button; faces are masked immediately. For Snapseed: use the selective tool and paint blur over the face area.
- Adjust intensity with the slider.
- Export at full resolution to your camera roll.
Android
- Open Snapseed or Photoshop Express from the Play Store.
- Import your photo and select the blur or selective tool.
- Paint the mask over each face manually (neither app auto-detects on Android by default).
- Alternatively, open Chrome and use BlurFaces or PixConvert directly in the browser — the MediaPipe model downloads and caches on first use.
- Export and verify at thumbnail size.
Desktop (Windows/Mac)
- For quick edits: open Photo Face Blur (Windows Store) or Adobe Express in a browser.
- For batch processing: open GIMP, use Script-Fu to apply a Gaussian blur or pixelate filter across a folder of images.
- For audited redaction: use TechSmith Snagit with the Auto Redact feature and export a redaction report.
Privacy checklist and the real limits of face blurring
Blurring a face is a deterrent, not a guarantee. Before you share, run through this checklist:
- Confirm on-device processing. Tools like PixConvert, BlurFaces, and Convertful process files locally. Server-upload tools (iLoveIMG, Adobe Express, TechSmith) send your image to a remote server — check their privacy policy before using them for sensitive content.
- Strip EXIF and GPS metadata. Most tools do not remove metadata automatically. Use a dedicated EXIF remover or export via a tool that strips it by default before sharing.
- Verify every face. Zoom to 100% and scroll the entire image. Auto-detection misses profile views and small background faces regularly.
- Use strong pixelation or a large blur radius for sensitive cases. A light Gaussian blur on a high-resolution image can be partially reversed with image-sharpening algorithms. Pixelation with large blocks or a solid black bar is much harder to recover.
- Check for identifying context. Clothes, tattoos, distinctive jewelry, and recognizable backgrounds can identify a person even when their face is fully blurred.
- Export a flattened file. Save as a merged JPG or PNG, not a layered file. A layered file may expose the original face data if opened in the right editor.
Pro Tip: For journalism or legal work, use a tool that generates a redaction report documenting which regions were anonymized. WuTools and TechSmith Snagit both support this. Keep the report alongside the original file in a secure folder.
On privacy claims: Tools that advertise “no upload” and “in-browser processing” are keeping your files client-side, which is meaningfully safer than server-upload tools under GDPR and similar frameworks. That said, “in-browser” does not mean the tool’s JavaScript code cannot log metadata about your session. For the highest-stakes redaction, use an offline desktop app like GIMP or Photo Face Blur.
Which tool fits your need right now?
If you want the shortest possible answer before diving into the full guide above, here it is:
- Fast, one-off web edit: Use PixConvert or BlurFaces. Both run on-device, require no account, and finish in under a minute.
- On-device mobile: FaceBlur (iOS) for one-tap speed; Snapseed (iOS/Android) for manual precision.
- Offline desktop: GIMP for batch and advanced work; Photo Face Blur (Windows) for a simpler offline option.
- Journalism or legal redaction: TechSmith Snagit with Auto Redact, or a tool that exports a redaction report.
The on-device browser tools handle the vast majority of everyday needs without any privacy trade-off.
A practical note on face blurring and privacy
The conventional advice is “just blur the face and you’re done.” That is not quite right, and it matters more than most guides admit.
A weak Gaussian blur on a high-resolution image is not real anonymization. Advanced sharpening and deblurring tools can recover recognizable detail from a soft blur, particularly when the original image is 12+ megapixels. Pixelation with large blocks is genuinely harder to reverse. A solid black bar is the only method that removes the underlying data entirely from the visible layer — though even then, a layered file format can expose the original.
The other thing most guides skip: context identifies people just as reliably as faces. A distinctive tattoo, a recognizable uniform, or a specific venue in the background can be enough. Blurring is one layer of protection, not a complete solution on its own.
For casual sharing — posting a group photo where you want to protect a friend who didn’t consent to being tagged — a browser tool with strong pixelation is perfectly adequate. For anything with legal or journalistic weight, treat blurring as one step in a broader workflow that includes metadata removal, context review, and a redaction report.
Swingersuk’s approach to this problem is different by design. Rather than anonymizing photos for public posting, the platform uses ID-verified member profiles and the Pulse Handshake System to create a space where you share with people who have already confirmed mutual interest. That shifts the privacy model from “obscure before broadcasting” to “share selectively with verified people.”
Private photo sharing with verified members
If your goal is to share photos privately rather than post them publicly, aggressive face blurring may not be the right tool at all.
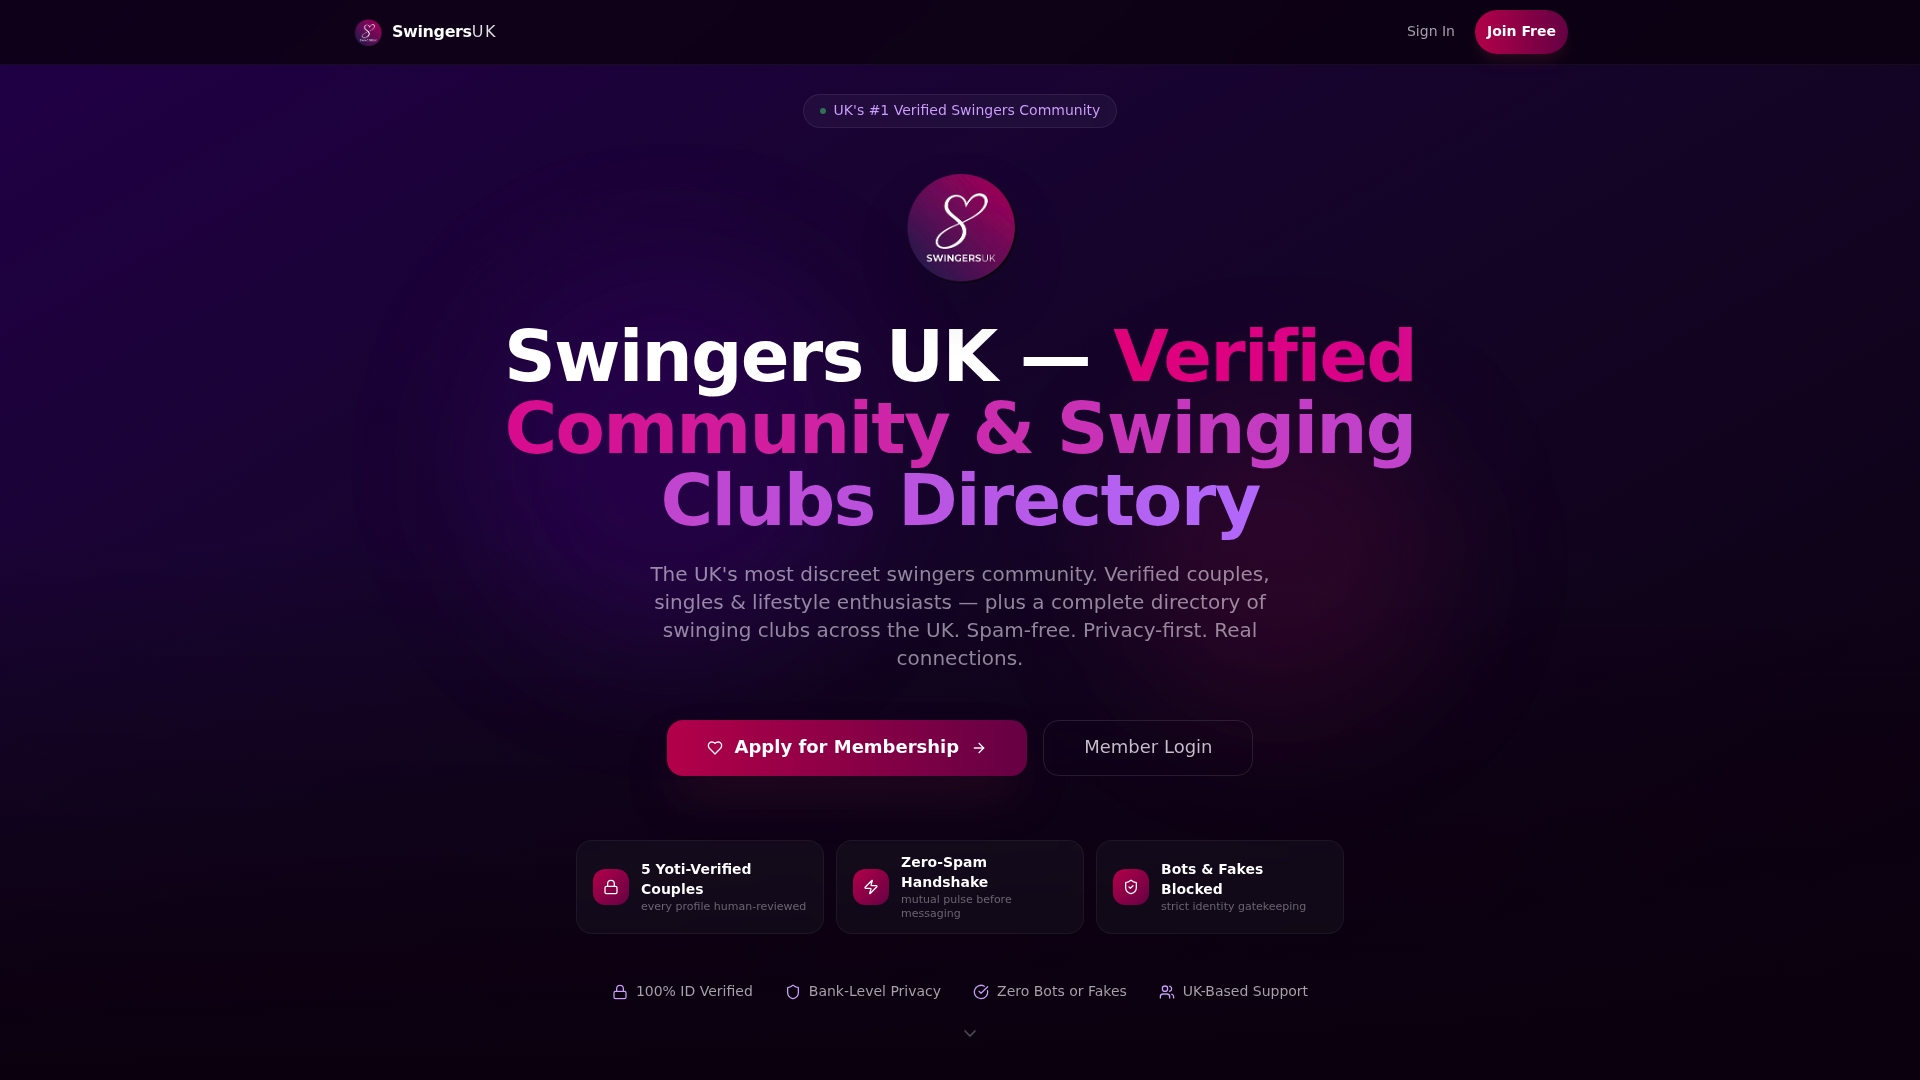
Swingersuk offers a different route: a verified community where every member goes through AI and human-reviewed ID verification before they can interact. Photos shared inside the platform stay within a closed, consent-based environment governed by the Pulse Handshake System, which requires mutual interest before any messaging or media exchange begins. You control who sees what, and you’re sharing with people whose identities have been confirmed, not anonymous internet users.
This is not a substitute for anonymization when you need to publish images publicly. But if your concern is sharing lifestyle photos with people you trust, a verified private community removes the need to blur faces in the first place. Check out Swingersuk’s membership options and see whether private, verified sharing fits your situation better than public posting with anonymized faces.
Useful tool pages and tutorials to open now
Quick links to the tools and official pages referenced in this guide:
- PixConvert Face Blur — on-device AI blur, pixelate, and black-bar styles; no upload, no account. Start here for most use cases.
- BlurFaces — client-side face detection for photos and video; supports manual masks and keeps originals on your device.
- Convertful Face Blur — MediaPipe-powered in-browser tool; good for multi-face images and JPG/PNG/WebP support.
- Adobe Express Blur Tool — official how-to and free online tool; adjustable slider and mobile app available.
- TechSmith Online Blur Tool — click-or-drag blurring with Auto Redact for text; free browser option with paid audited export.
- iLoveIMG Blur Face — straightforward multi-face detection UI; good for quick, non-sensitive edits.
- WuTools Face Blur Anonymizer — covers confidence thresholds, padding, and redaction reports for journalism and legal workflows.
- Photo Face Blur (Windows) — offline desktop app from the Microsoft Store; useful when you need local batch processing with no browser dependency.
Sources
- Blur an Image for Free Online | Adobe Express
- Blur an image online for free | TechSmith
- Blur Faces Online in Photos and Videos | BlurFaces
- Pixconvert
- Blur Faces in Photos — Free Online Face Blur | Convertful